Managing Templates
To access the screen for managing templates, first tap or click the three-bar icon in the top left corner of the app. This action will display a sidebar menu. From there, select My Templates to load the management screen.
The scope for managing templates is limited to amending the Title and Description provided at the time of creating a template, deleting a template, and assigning a template to load on app startup (all described below).
Note
You cannot amend the calculation template inputs and settings directly on this screen. To modify these, load the template you wish to change in the Calculator input screen, make your adjustments, and then re-save it as a Template. Return here to delete the old Template.
After creating your first template, the management screen will look something like the image below.
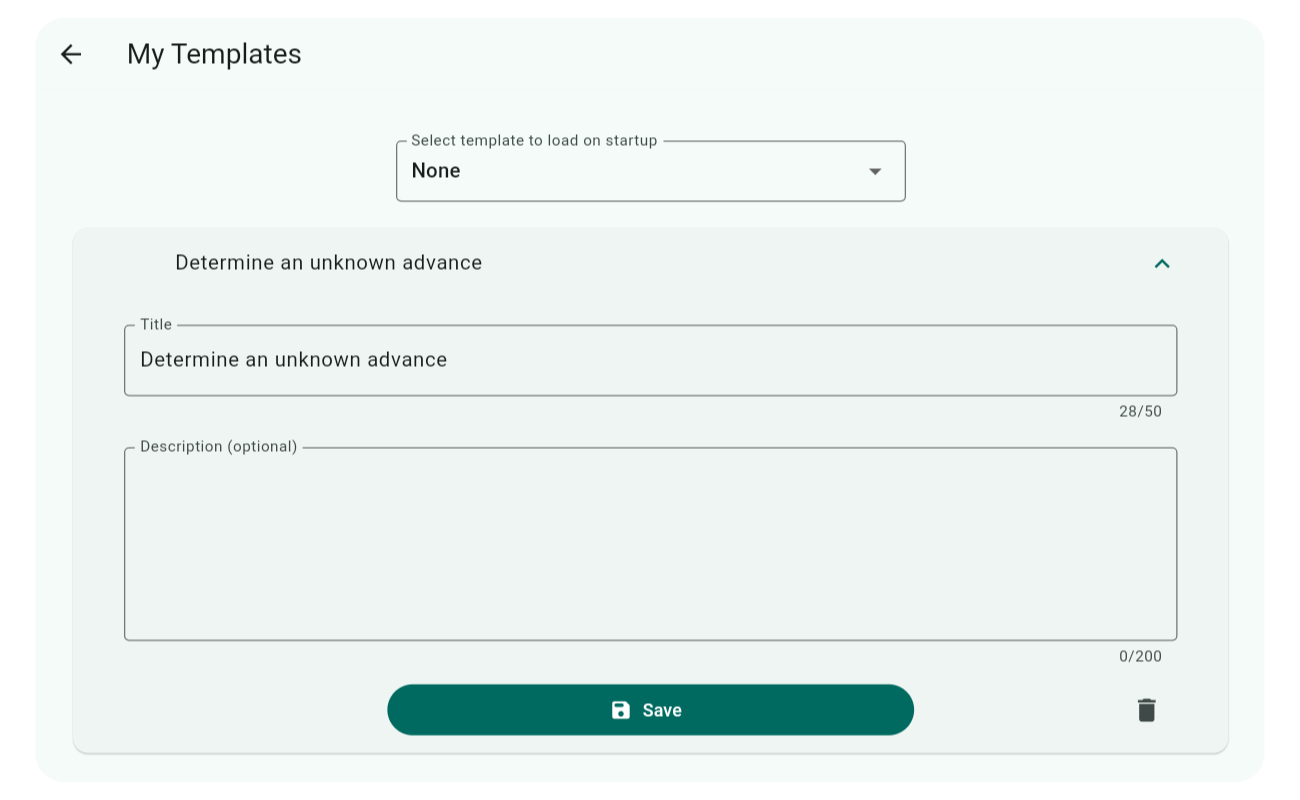
The first thing you’ll notice is the Select template to load on startup dropdown, located above the list of templates. This dropdown lists all your current templates, allowing you to designate a particular template to load at app startup. This option is particularly useful for Finance Professionals performing standard calculations daily rather than occasional users.
When you have more than one Template, a drag and drop icon appears on the left of each row, which you can use to reorder them. The ordering of templates is reflected in the Template pop-up selector accessed from the Calculator input screen.
Specific template actions include:
Edit: Tap the Template you wish to update in the list, and an expanding panel containing the Title and Description fields will appear. Make your changes and select Save.
Delete: Tap the Template you wish to delete, and in the expanding panel, select the Delete Trash icon. A confirmation dialog will pop up asking you to confirm the action.