My Templates

Templates simplify repetitive calculations with similar inputs. Curo Calculator leverages templates to provide numerous examples, guiding you through its features. You can modify any example, tailoring it to your needs, and save it as a personal template, avoiding the hassle of starting from zero. With just a few clicks or taps, execute your tailored calculations, making this one of the most user-friendly yet powerful tools available!

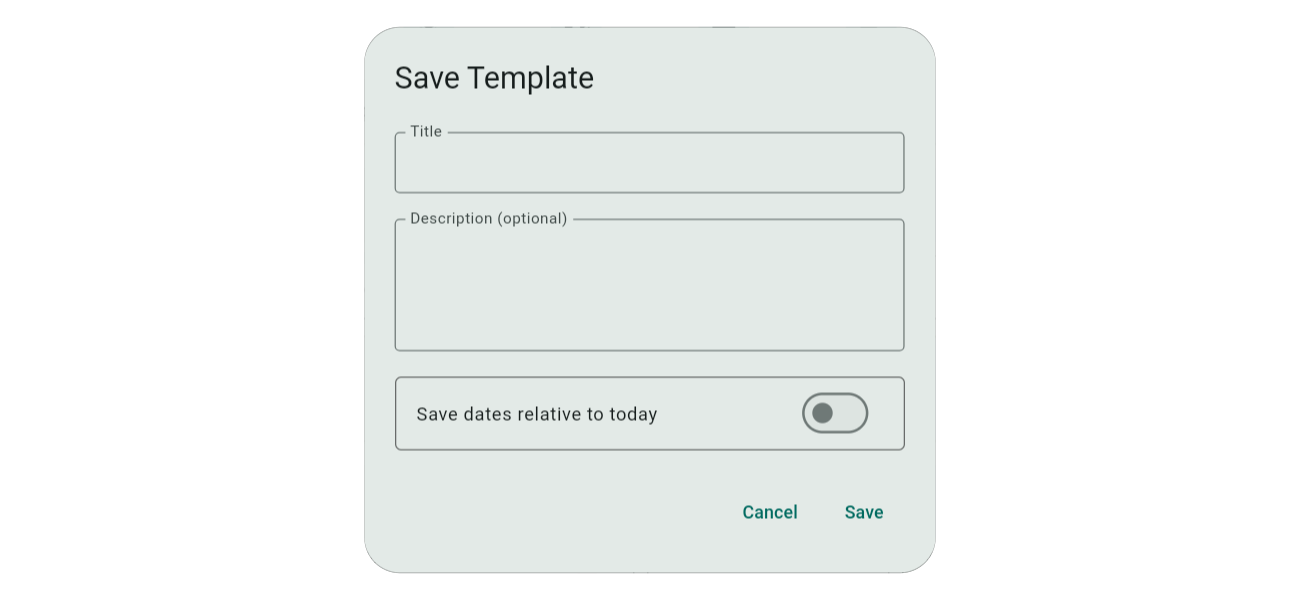
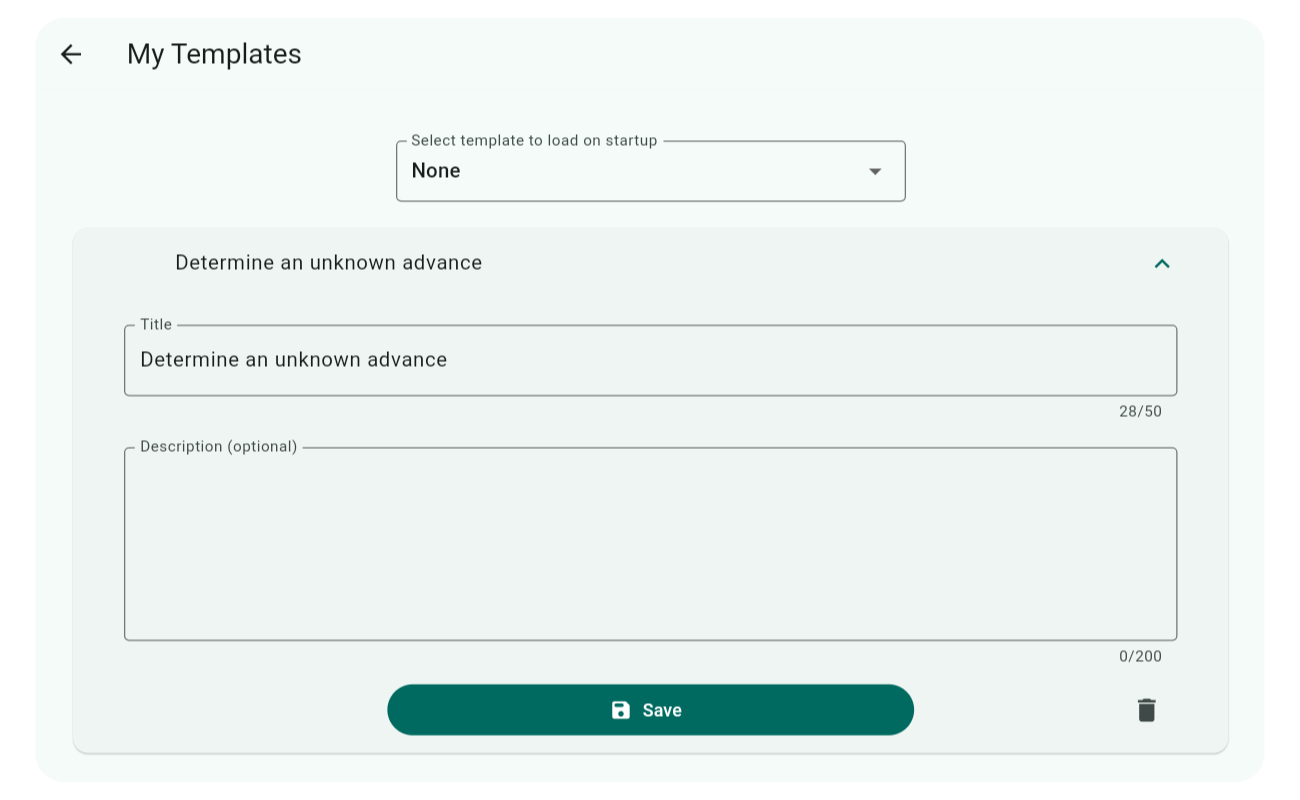
For more, see Creating a Template and Managing Templates.

Start streamlining your calculations today with Curo Calculator Templates!

Subsections of My Templates

Creating a Template

You have two options for creating templates, each with its own benefits and drawbacks:

  1. Create a Template from Scratch: This approach offers more flexibility, but requires you to manually adjust the calculator’s display options to activate the features you need.

  2. Create a Template from a Calculator Example: This is by far the quickest and easiest method, but you cannot modify the display options of the loaded example.

Important

When a Calculator Example or a Template you’ve created is loaded, the Settings > Display Options used in its creation are applied and cannot be modified afterward. Therefore, creating a Template from an Example might not always be the best approach.

Regardless of the method you choose, the first step is to enter or modify all required calculation inputs. Perform a calculation to verify your inputs are correct for templating. Adjust and repeat as necessary. Once satisfied with the results, proceed to save these inputs as a Template.

Saving a Template

At the top of the calculator input screen, select the Save Icon as shown in the image.

Save Template Button Save Template Button

This will launch a pop-up window as shown in the image. Field descriptions are provided below.

Save Dialog Save Dialog

  • Title: The title should uniquely identify your template for ease in identification and selection from a list of potentially many templates.
  • Description: The description, which is optional, provides additional context beyond what the title suggests.
  • Save Dates (switch): This switch is only displayed when a template contains date inputs. The two date-save options are:
    • Save dates relative to today (button off): All dates are preserved as offsets from the current device/system date. When a template is loaded in the future, dates are rebased on the device/system date at that time, with offsets reapplied.
    • Save dates as entered (button on): All dates are preserved exactly as entered.

Select the Save button when you’ve finished, or the Cancel button to abort. A snackbar at the bottom of the screen will confirm once the template has been saved.

After creating one or more templates, you’ll need to explore Managing Templates, a topic covered next.

Managing Templates

To access the screen for managing templates, first tap or click the three-bar icon in the top left corner of the app. This action will display a sidebar menu. From there, select My Templates to load the management screen.

The scope for managing templates is limited to amending the Title and Description provided at the time of creating a template, deleting a template, and assigning a template to load on app startup (all described below).

Note

You cannot amend the calculation template inputs and settings directly on this screen. To modify these, load the template you wish to change in the Calculator input screen, make your adjustments, and then re-save it as a Template. Return here to delete the old Template.

After creating your first template, the management screen will look something like the image below.

Template Management Screen Template Management Screen

The first thing you’ll notice is the Select template to load on startup dropdown, located above the list of templates. This dropdown lists all your current templates, allowing you to designate a particular template to load at app startup. This option is particularly useful for Finance Professionals performing standard calculations daily rather than occasional users.

When you have more than one Template, a drag and drop icon appears on the left of each row, which you can use to reorder them. The ordering of templates is reflected in the Template pop-up selector accessed from the Calculator input screen.

Specific template actions include:

  • Edit: Tap the Template you wish to update in the list, and an expanding panel containing the Title and Description fields will appear. Make your changes and select Save.

  • Delete: Tap the Template you wish to delete, and in the expanding panel, select the Delete Trash icon. A confirmation dialog will pop up asking you to confirm the action.